Interest in purchasing a solar system to power your home or business? Well look no further. Our company was established to offer privately owned solar systems for people exactly like you. We can install anywhere in Massachusetts, New Hampshire, and Rhode Island. If you are in a different state and interested in having us develop a proposal, please reach out and our team will discuss the possibility of expanding into your state.
How it works:
Electricity is produced by the solar panels during the daytime, and is used to directly power your home. Excess electricity is sent back to the grid through your electric meter. Upon completion of the solar project, your utility will install a bi-directional meter (net meter), which is able to spin backwards during the day when the solar system is producing more than is being used in the home or business.
At the end of a billing cycle, your new electric bill will now either be eliminated with the solar panels, or considerably lowered if we were not able to offer an installation big enough to completely eliminate your bill. Below is an example of one of our client’s new electric bill post solar.
![]()
Project Workflow and Leadtime:
The entire process to own and interconnect a solar system can be very overwhelming. Fortunately, we have experience with every step, and have dedicated this page to showing our project workflow, and everything we go through to eliminate your electric bill.
Week 1
Step 1: Initial Phone Call
The very first step is to give us a call and spend 10 – 15 minutes discussing your property where you are interested in putting a solar array. Once connected with our sales team, we will use google maps for an overhead view, and bing maps for a “birds eye” perspective view. We will discuss which roof surfaces have the best orientation for solar, and inquire about your current electric bill and annual electrical consumption (in kWh).
Step 2: Generate Design and Proposal
After the initial phone call, Alex will design your system remotely from our office. We model each home in 3D for a realistic rendering of your solar system. See below for an example of an initial 3D model done for a recent installation.
![]()
Step 3: Meet to Discuss Proposal
Typically we like to book an in person meeting at your home or business to go over your proposal in person. We know you have many questions, and owning a solar system is a big decision. It always helps to meet face to face before making any decisions. However, we can also email the PDF proposal and discuss on the phone or through email as well.
Step 4: Make Solar Panel Choice
Currently we offer a few different models of solar panels. Our preferred manufacturer is LG Corporation, and most of our clients choose these sleek high power panels for a variety of reasons. However, we also have access to lower tier panels to help lower your cost. Typically commercial clients will choose more affordable panels whereas residential clients choose LG for high power and appealing aesthetics. Visit our “Solar Panels and Inverters” tab to learn the differences in the models. We will help guide you to the panels best suited for your situation.
Week 2
Step 5: Sign Contract / Utility Applications
Congratulations! You are now very close to owning your solar system. This step marks the true beginning of your project. We will meet in person again to sign the following documents:
- Turnkey Solar Contract
- Utility Interconnection Application
- Local Permitting Apps
Step 6: Roof Audit for Dimensions and Final Design
This step is usually done right before the signing of utility documents in Step 5. While we cannot get true dimensions of every prospective lead, we do not want to sell you a system that does not fit on your roof. The original 3D model is very accurate, but we like to fill up the best roof surfaces, and fit as many panels as possible.
By performing the final roof audit right before signing the contract and utility documents, any difference in the number of panels from initial proposal to final design is taken care of. Utility Applications can be amended after submitted, but it is easier to have these correct from the beginning.
Step 7: Project Financing (if desired)
We have financing partners if you desire to take a loan to pay for your system cost. Massachusetts clients can take advantage of the Mass Solar Loan program, while RI & NH clients can be setup with 3rd party loan programs. Please inquire about financing after signing your contract.
If you elect to not finance your project, or finance by another means (home equity line, savings account, etc), this step is skipped, and invoices are sent to you following the payment schedules on Page 8 of your proposal, the system contract.
Week 3
Step 8: Structural Engineering
In order to pull a building permit and begin installation, we have a professional engineer analyze your home or business and confirm that it is strong enough for the snow and wind loads, in addition to the solar panels.
The initial structural analysis is fully covered in your original proposal quote, as there are no hidden fees or adders we ask for. The only exception is if your home or business needs structural reinforcement. In this situation, we quote individually for the reinforcement. We do not want to make extra profit off your reinforcement, but also do not want to take a loss to get your building up to code.
For structural reinforcing, clients will communicate directly with Alex to come up with the most accurate quote for your reinforcement.
Step 9: Town / City Permitting
At this point we will submit for the building and electrical permits required to begin installing your solar system.
Week 4
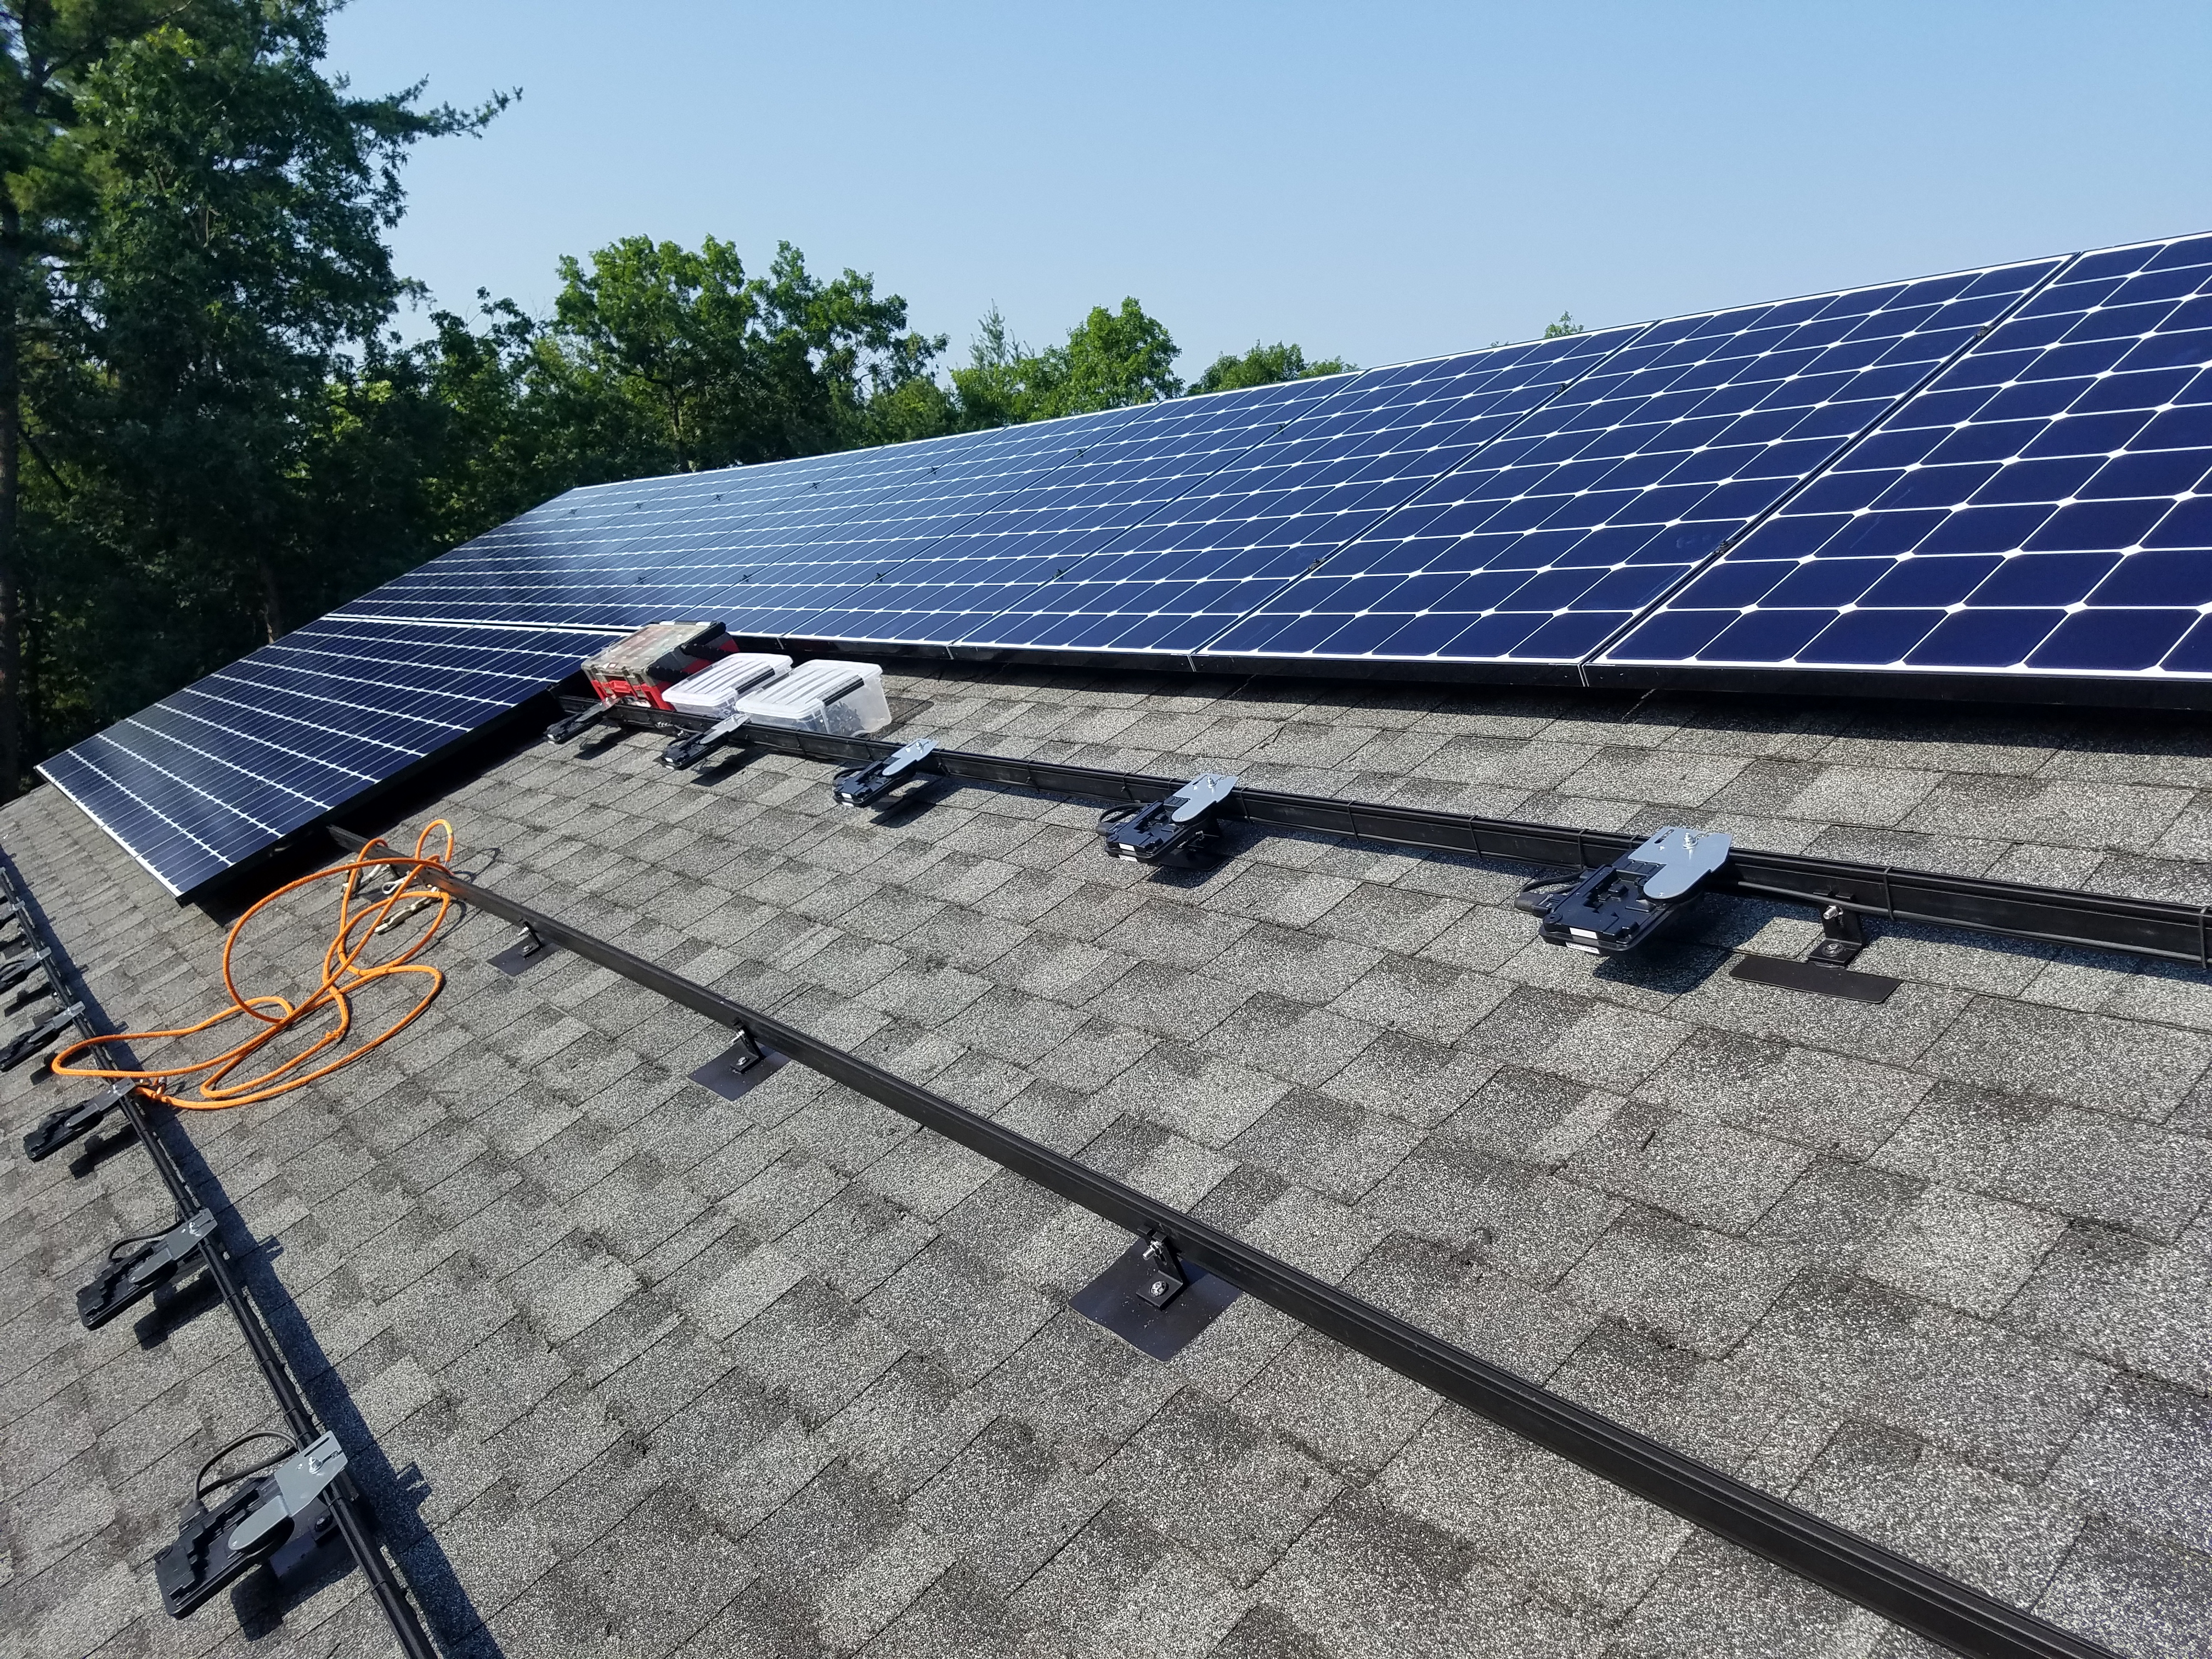
Step 10: Installation
Roof Attachments / Flashings / Rails / Panels
Week 5
Step 11: Inspections and Final Utility Applications
During this time we will schedule and attend the electrical and building inspections, and then submit all necessary documents with your utility to obtain the net meter. The larger solar companies tend to drag their feet with this step, while we are able to obtain net meters much faster. We know you want to be turned on ASAP!
Week 6 – Completion
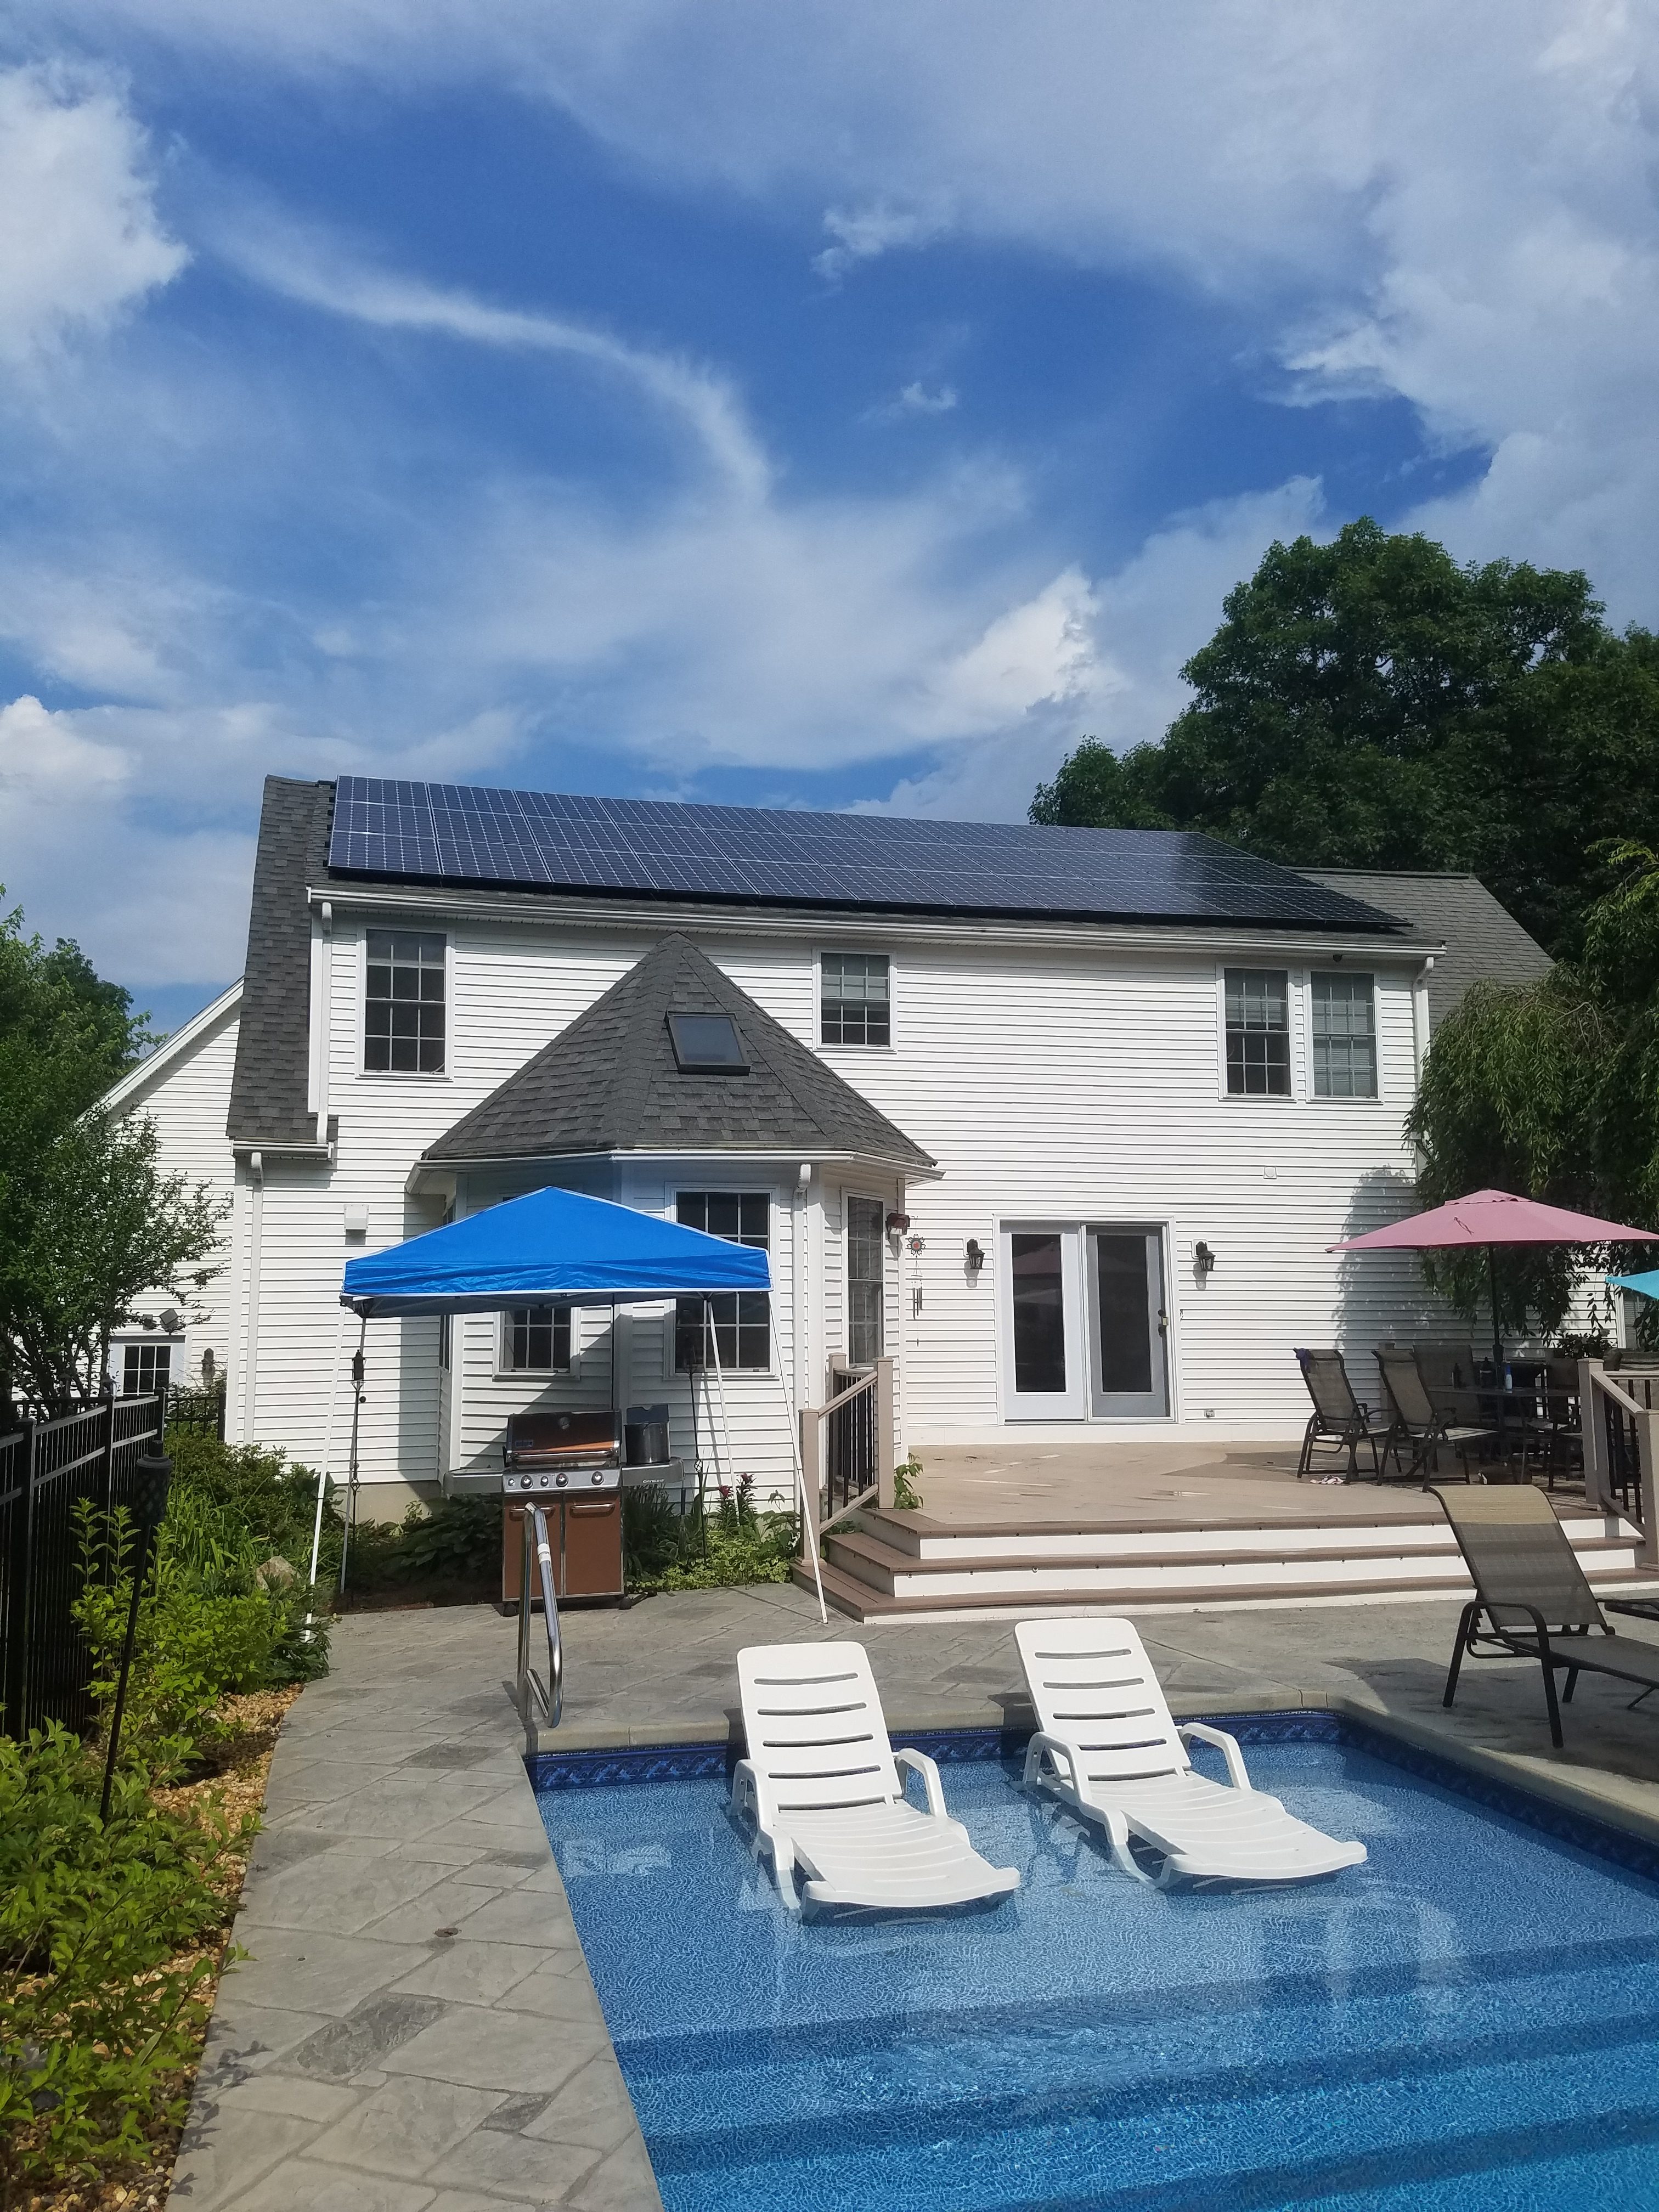
Step 11: Turn System On and Commission
We’re done! All that is left is to turn the system on and give you a little training on the disconnects and what everything does. We also will go over your project binder, which has every document you need for your solar system.
Step 12: Refer friends and family!
Check out our “commissions” tab for how you can receive 5% of every project you pass along!